Lab 1 - Setup & Install Python
The purpose of this lab is to make sure you are set up well to use your computer to execute Python programs. There are four main components to this lab, which we will work through together.
- Folders + Folder Navigation
- Terminal + Terminal Navigation
- Python Installation
- VSCode Installation + Features
Computer Navigation
Some of the following might be redundant to you; other parts of it might be wholly unfamiliar. Everybody is coming to this class with different experiences using a computer, so the goal below is to start from absolute zero and build up the skills and understanding you need for this course.
Folders & Folder Navigation
You may be used to using your computer as a “black box” more than as a tool. A computer for most of us is a screen and a keyboard, and inside of it lives a large collection of files and programs.
Modern computers strive to maintain this “black box” feel, especially through the use of apps, or self-contained programs that are sometimes like small computers in their own right. You likely have a search bar on your computer into which you can type the name of any file or program you have, and your computer will do the work of finding this file.
However, most of this is window dressing. Everything in your computer lives inside a file or folder, and it is important that you know how to navigate these files or folders without the window dressing so you can understand how your computer is doing so.
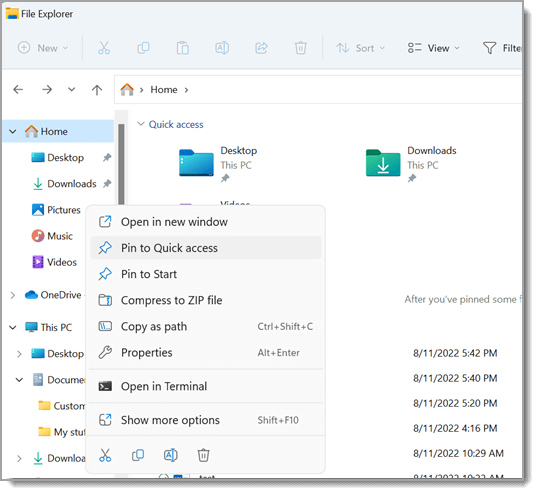
File Manager GUI
Open the file manager on your computer.
On Windows, this will be called File Explorer and should look something like the following:
On Mac, this will be called Finder and should look something like the following:
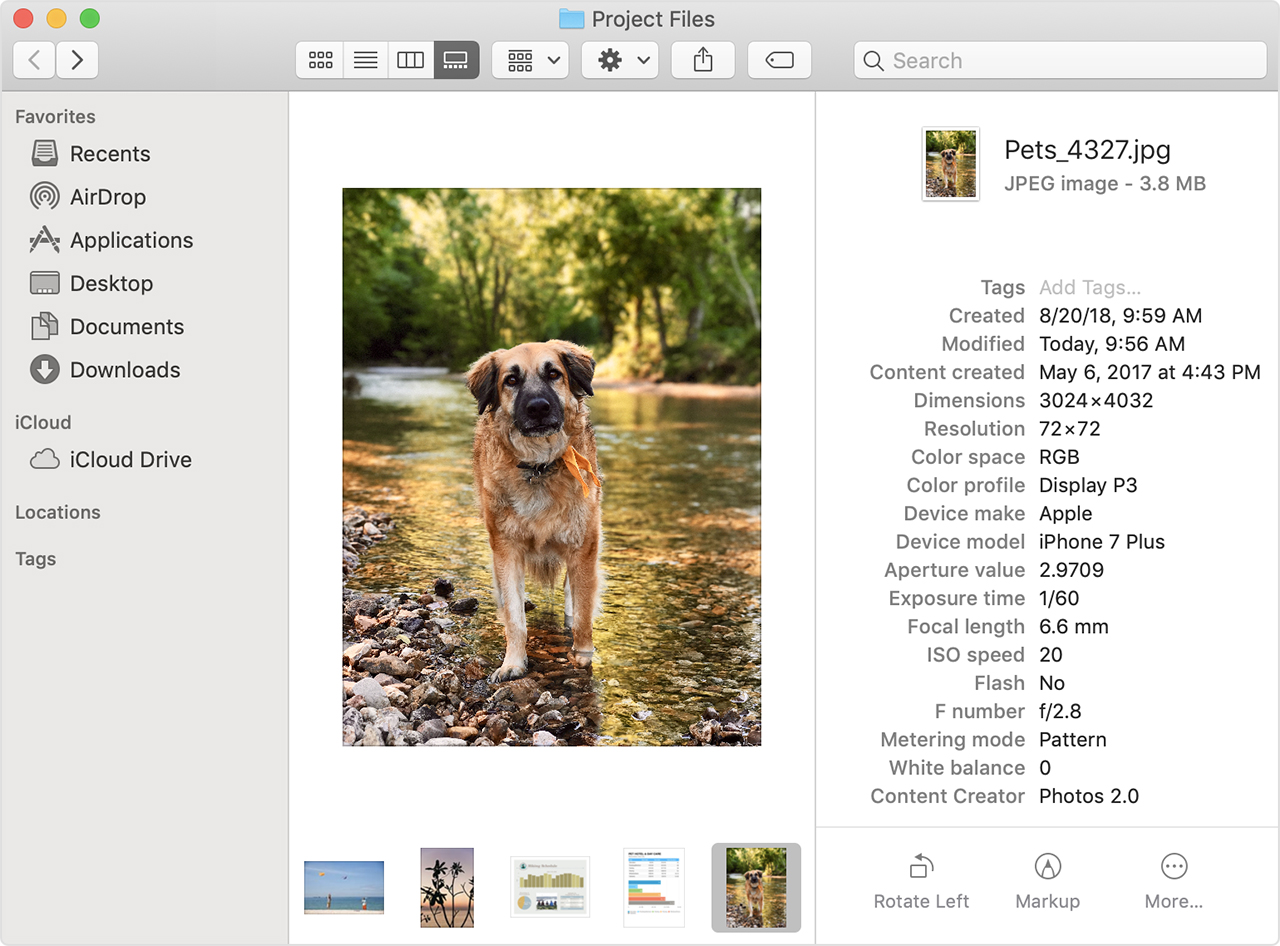
This is a really a file manager graphical user interface, or GUI, that represents all the files that exist on your computer.
You can usually use the search bar to find the files you’re looking for, but they’re also organized into nested folders. You are probably used to the idea of all your files living in some home directory, which traditionally houses folders called Documents, Desktop, Pictures, and so on.
In your file manager GUI, find and navigate to the home directory of your computer. You will know you’ve done so when you are in a folder containing other folders called Documents, Desktop, etc.
On a Windows computer, the easiest way to do this is usually to go to This PC and then click the C:\ drive.
On a Mac, the easiest way to do this is usually to go to your Documents folder and press Cmd + Up (your command key plus your up arrow), which takes you to one folder higher.
🟩 Put up your green sticky note when you’ve successfully opened your file manager GUI and found your home directory.
Making a New Folder
Your computer could just store all your information in a flat structure inside one massive folder in your home directory (or anywhere, really). However, it’s nice to have items grouped together into similar spaces; it makes them easier to find both for you and for your computer.
Because your computer expects related items to be in the same general location, it’s generally a good idea to make a new folder for any new programming project you undertake. Later in class when we touch on reading and writing files, you’ll see that keeping all of your projects in well-organized, nested folders helps make your code simpler.
In whatever directory you choose (though I suggest your Documents folder, or any folder where you typically store coursework), make a folder for this class titled CMSC140. This folder can be empty for now.
TIP: Your life will be slightly easier if you don’t include spaces in your folder and file names for this course (you will see why in a moment). Therefore, CMSC140, CMSC-140, and CMSC_140 are all better options than “CMSC 140” for a folder name.
🟩 Put up your green sticky note when you’ve successfully created your CMSC140 folder.
Terminal & Terminal Navigation
There are many more files on your computer than just those in your home directory. Files are nested in folders all the way down to the root directory of your computer, which holds not only the files you save on your computer, but also all the files required to make your computer run.
However, computers typically discourage interacting with files “higher up” in the heirarchy than your home directory via your file manager GUI. This is because it’s possible to do some real damage messing around with your system directories if you don’t know what you’re doing. Luckily, you’re currently learning what you’re doing.
Your file mangaer GUI is one way of interacting with your computer, but there is another, much more basic way. That is by using your terminal, also called a shell or command-line interpreter (CLI)1. We’ll use the word terminal for simplicity.
Your terminal is, in its most basic form, a text-based version of your file manager GUI which allows you to write simple commands to navigate your files and create new files. It’s basically a pen-and-paper alternative to the flashiness of your GUI; Dungeons & Dragons is to Skyrim as your terminal is to your file manager GUI.
Opening the Terminal
You can open the terminal on your computer the same way you would open any other application.
On Windows, you can press the Windows key and type cmd; this will bring up your Command Prompt.
On Mac, you can type Terminal in Spotlight; this will bring up your terminal.
Once you open your terminal, try typing (ls on Mac / dir on Windows) and hitting enter. What do you see? How does this compare to navigating through your file explorer GUI?
You can see exactly what file you are in by typing (pwd on Mac / cd on Windows) into your terminal. This will print to your screen the entire path to the file you are currently in.
🟩 Put up your green sticky note when you’ve successfully opened your terminal and typed (ls / dir) and (pwd / cd) and gotten the output.
Terminal Navigation
Much like you can double-click on a folder in your file explorer to go down into that folder, you can use text-based commands to go into a folder in your terminal.
You can enter any folder inside the folder you’re currently in on your Terminal by typing cd FOLDERNAME, where FOLDERNAME is the name of the folder.
It’s likely you have a folder called Documents. Try typing cd Documents to enter this folder, and then display your current directory again to see where you are now.
Additionally, much like you can hit the back button or use the file navigation bar to go up one folder, you can go up one folder by typing cd .. (that’s two periods) to take you up one folder.
Try typing cd .. to return to your home directory, and then display your current directory again.
Now, try using these commands to navigate into your CMSC140 folder.
🟩 Put up your green sticky note when you’ve successfully navigated INTO your CMSC140 folder. Use (pwd / cd) to confirm.
Creating and Working with Files
Another very basic thing you can do in your terminal is create and access files. You don’t have to edit the files themselves in your terminal, but you can work with them.
Move one directory up from your CMSC140 folder. You should know you are one directory up if you type (ls / dir) and you see CMSC140 listed as a folder in your current directory.
Now, we are going to create an empty file and move it into the CMSC140 directory using just terminal commands.
First, let’s create an empty file.
On Windows, you can do this by typing the following:
copy nul > "test.txt"
On Mac, you can type:
touch test.txt
Now if you type (ls / dir), you should see this file. You can also open your file manager GUI and see the file there, if you like. You can even open it, though it will be blank.
Next, let’s move that empty file into your CMSC140 folder.
On Windows, you can move a file from one folder to another with the command move filename1 folder2\. On Mac, the command is mv filename1 folder2/. So in this case, it would be:
Windows:
move test.txt CMSC140\
Mac:
mv test.txt CMSC140/
Verify the file has moved by going into your CMSC140 folder and typing (ls / dir) again to see its contents, and/or using your file manager GUI.
🟩 Put up your green sticky note when you’ve successfully created test.txt and moved it into your CMSC140 folder.
Other Terminal Commands
There are many, many things you can do with your terminal. So far we have only introduced very basic navigation in order to familiarize you with a new way of interacting with your computer.
We will use the terminal for many more things in class
Here are some cheatsheets that you should explore.
Software Installation
Now that you’ve familiarized yourself with navigating your computer, we need to install the actual software required to write and run Python programs in this course.
Python Installation
Python as a language is just a series of rules and syntax for writing a program. You can write a Python program anywhere; in a development environment, in a word document, on a sticky note on your desk. But you can only execute a Python program on a machine that is able to interpret and understand Python commands.
When we “install Python”, we are really installing a Python interpreter. You are not getting a new app on your computer that lets you write Python or a new language that it was impossible to write in before. What you’re getting is a translator from Python to machine code – a language your computer knows how to read and take commands from.
However, for simplicity’s sake, we’ll say we are “installing Python”, because this is how most everyone talks about installing the interpreter for a new language.
You can find the required Python download here. If you click the yellow button, it should automatically detect the correct operating system for your computer.
This may take some time depending on your computer and the fact that we have 20 people all downloading the same software in the same room off the same wireless access point. If you find yourself idling, feel free to continue exploring your computer via the terminal and practicing bash commands as linked in the above section.
🟩 Put up your green sticky note when you’ve successfully installed Python on your computer.
VSCode Installation & Features
So far, we’ve seen files in a graphical file tree, used the terminal to navigate around with files behind the scenes, and installed Python so we can write Python programs. It would be nice if there was a centralized place to do all of that…
Luckily, there is! There are many tools that allow you to view files, write programs, and run them in a terminal all in one central location. The tool we’ll use for this class is VSCode. We’re using VSCode because it works with many languages and many platforms, and because it’s the tool I’m most familiar with and most able to help you use.
If there are other development environments or code editors you’ve used in other contexts that work for you, you are free to keep using them. VSCode is not a requirement for this class. However, I cannot guarantee that I can troubleshoot any development environemnt or editor besides VSCode.
Installing VSCode is fairly simple. Just go here and click the appropriate big blue button to install.
As before, this might take some time.
🟩 Put up your green sticky note when you’ve successfully installed VSCode on your computer.
Features
When you first start VSCode, it will walk you through a lot of its features; feel free to explore these all you want.
Importantly, pay attention to the Extensions tab on the left; it looks like four squares, with the top right disconnected. These extensions install additional features that will make it easier to work with any programming language you’re interested in.
I suggest searching and installing the following:
- Extension Pack for Python by Microsoft – for Python development suggestions and autocomplete
- GitLens by GitKraken – for integration with GitHub later in the course
- Rainbow CSV by mechatroner – for easier-to-read files, when we get there
You can also feel free to install other extensions that you just think might be fun. For example, I’ve installed Dracula Official as a color theme.
Your First Python Program
Let’s write and execute our first Python program together. This part of the lab will be more sparse than the previous parts of the guide, because we’re doing it together in class. If you miss class, please come see me to do this together in student hours.
It’s traditional that your first program in a new language is a simple program that prints the phrase “Hello, world!” to the terminal.
First, open your CMSC140 folder in VSCode. To do this, navigate to File > Open Folder and then select the appropriate folder in your file manager GUI.
Next, make sure that you have a terminal open as well. Go to Terminal > New Terminal. You’ll see that this will open a terminal were the working directory is already your CMSC140 folder. Great!
Now, on the sidebar, create a new file called hello.py. By giving the file a .py extension, VSCode knows you want it to interpret the file as if it is written in Python
Type the following into your new file, and then save it.
print("Hello, world!")
Now, in your terminal, try typing (ls/dir). You should see your program, hello.py, listed.
To actually run this program, in your Terminal, type the following:
python hello.py
This will run the file and the program will do what you have instructed it to do: print the words “Hello, world!”.
This is the end of the lab. To turn in the lab, upload your hello.py file to Canvas under Lab 1. You will receive full Mastery credit for uploading a working hello.py file.
-
There are actually some subtle differences between a terminal (or terminal emulator), a shell, and a command-line interface, but they are often used functionally interchangably. We use the word ‘terminal’ in this class to refer to any interface that allows you to input commands in the form of text. If you are interested in precise differences between these terms, consider at some point taking CMSC 435: Computer Organization and Architecture. ↩